Building The PiDP8/I
A couple of years ago (2016) I purchased this neat kit called the “PiDP8” from Obsolescence Guaranteed | PiDP-8.
What is this thing?
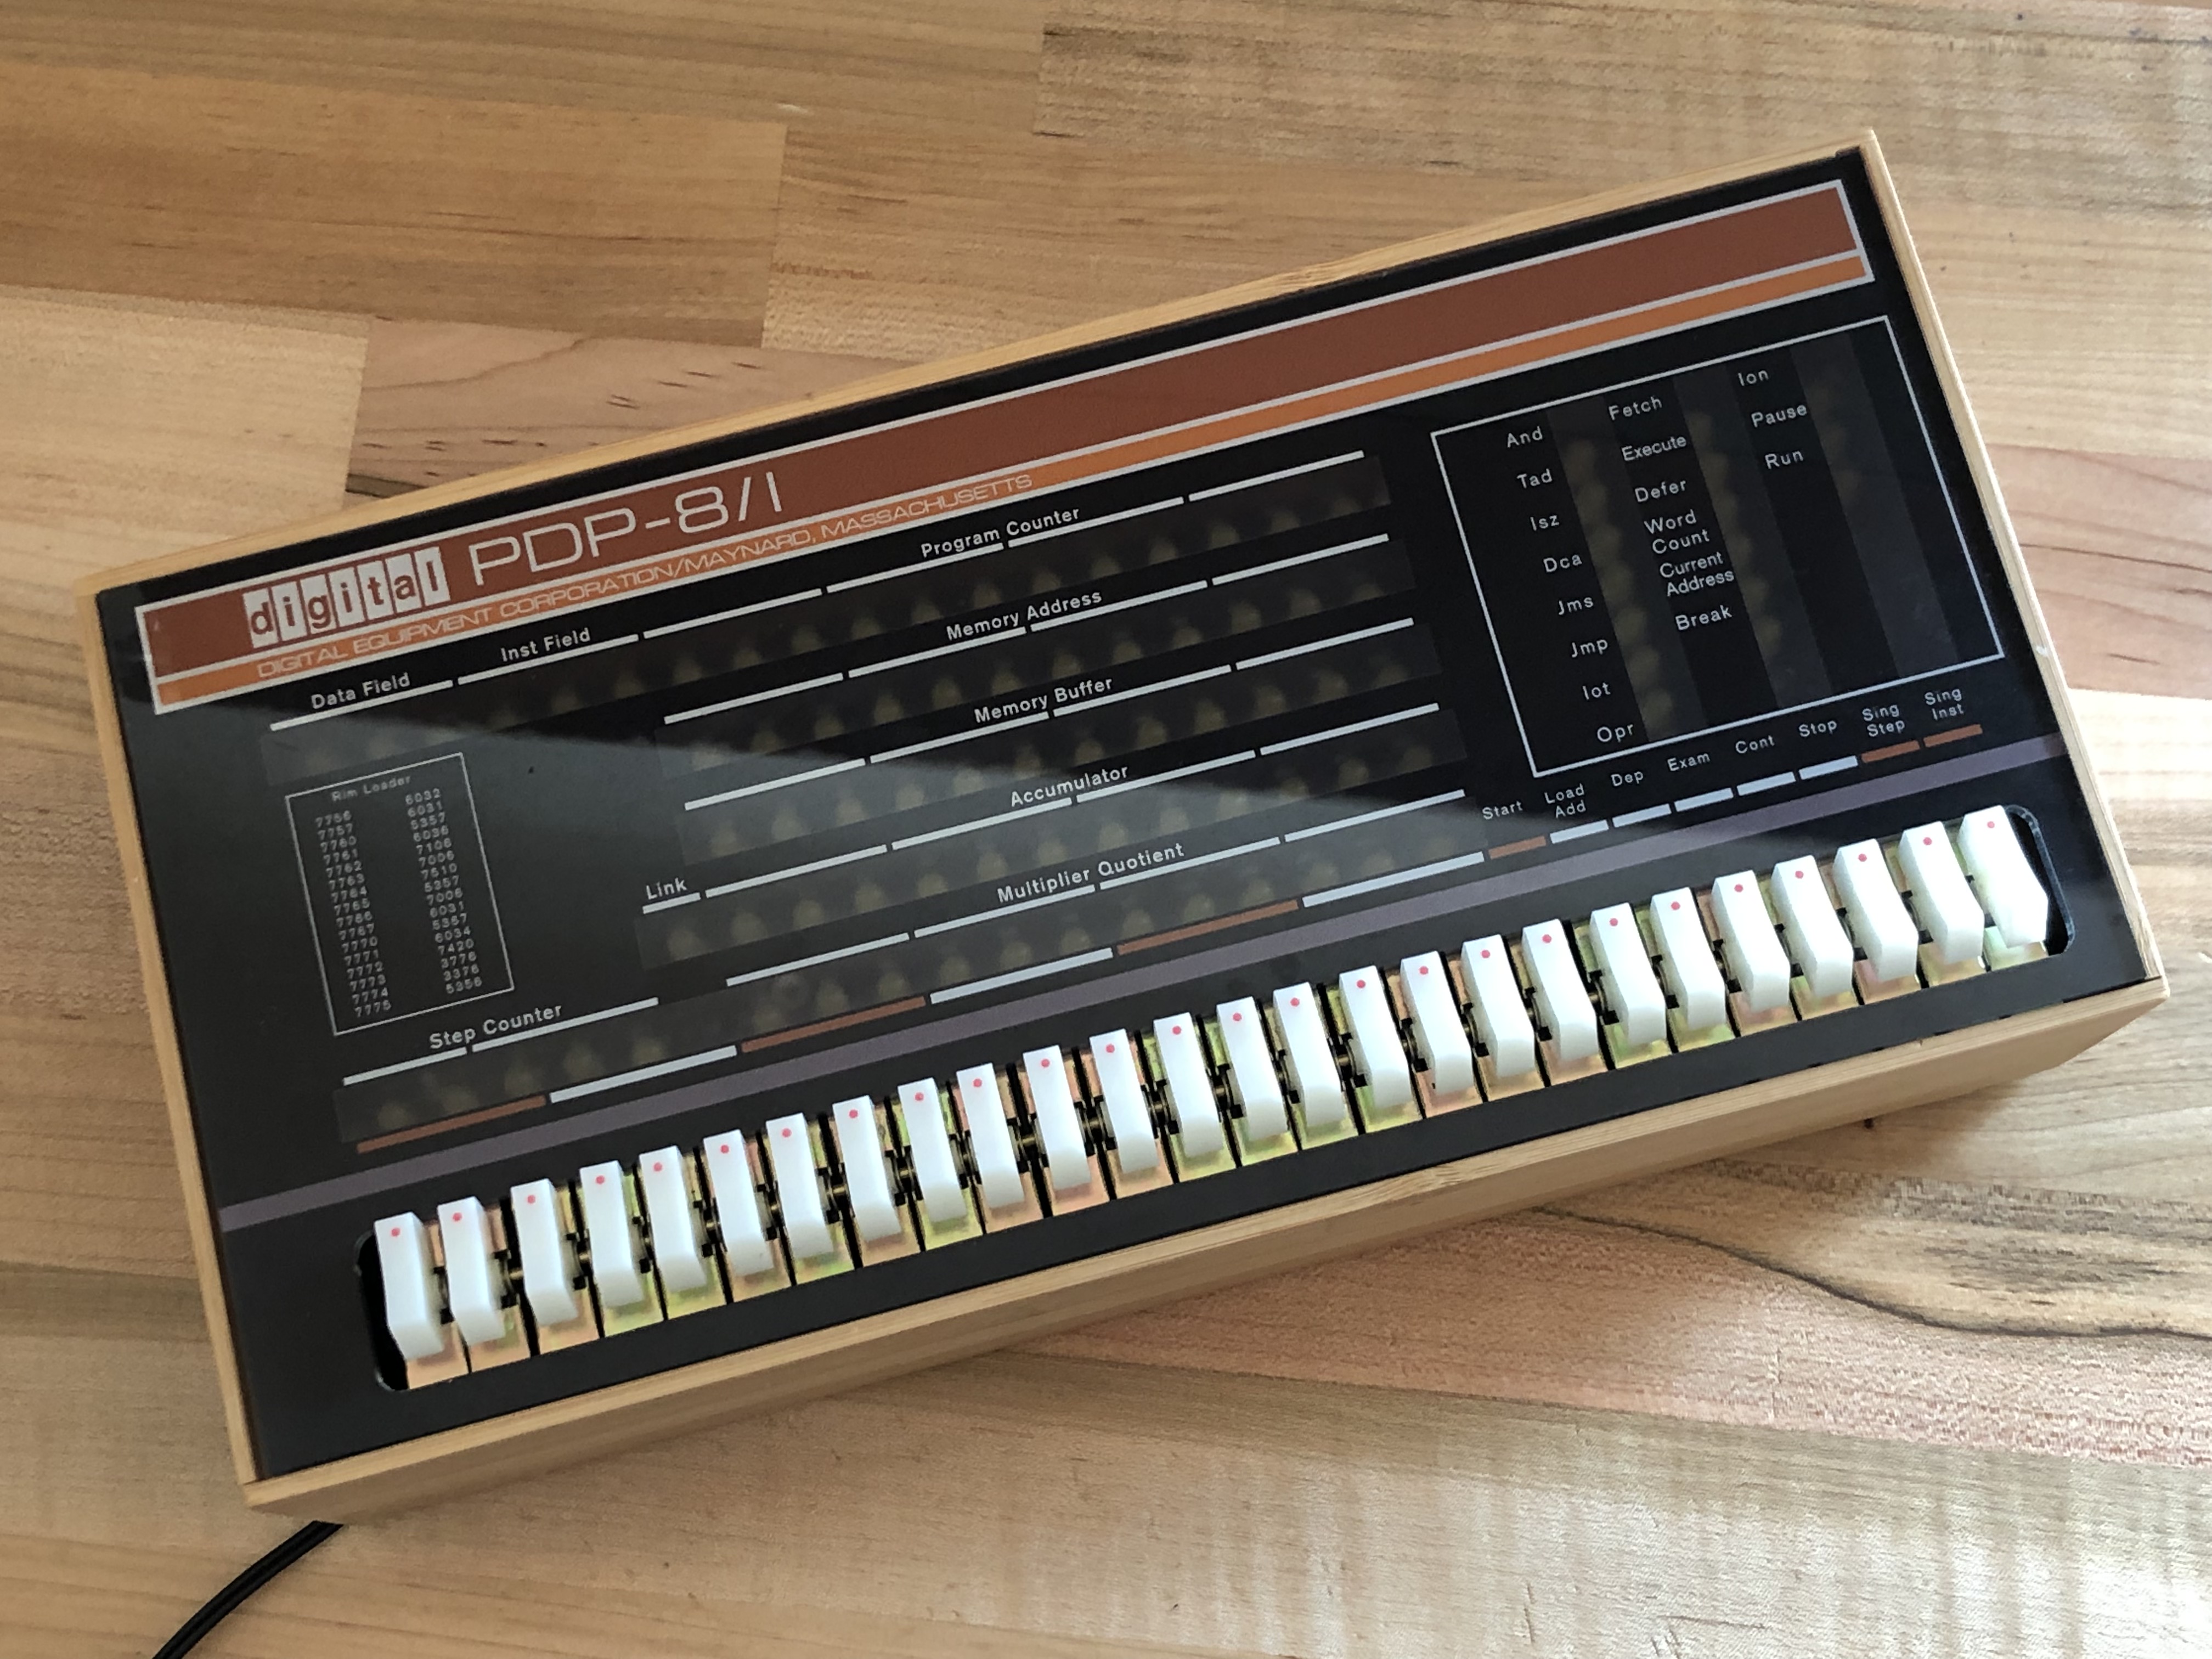
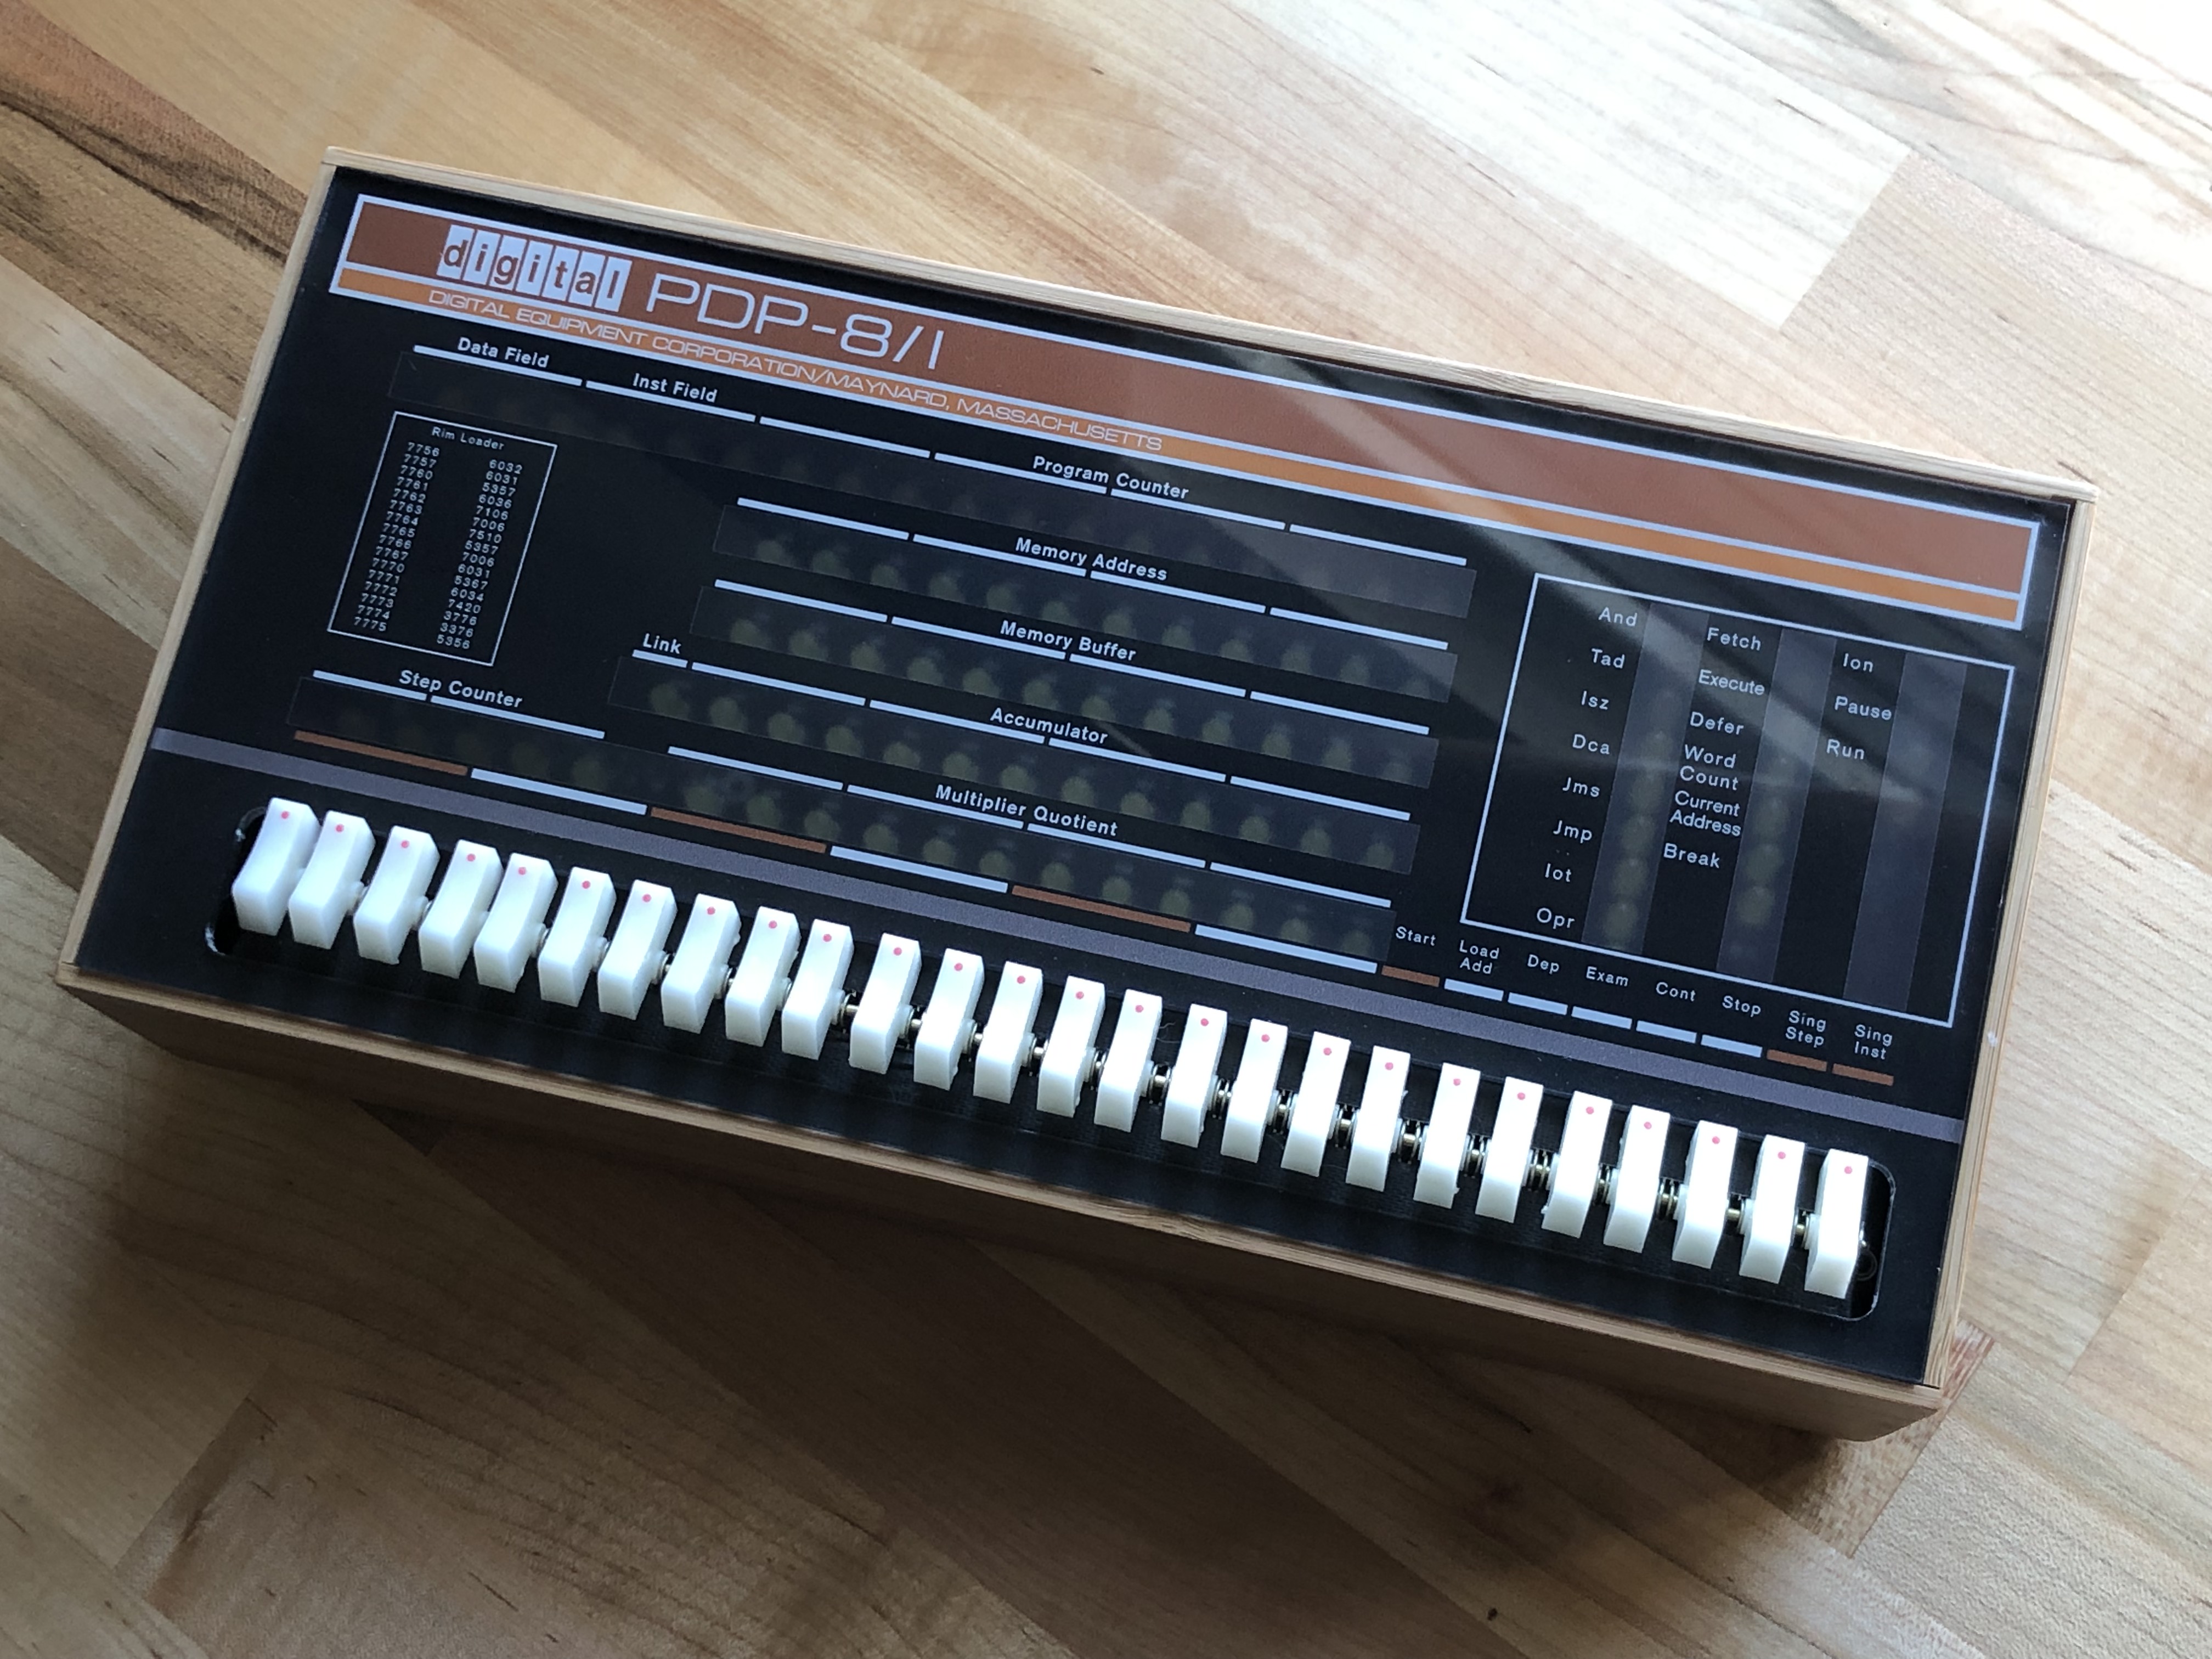
The PiDP-8/I is a modern replica of the 1968 PDP-8/I computer.
After ordering, I got a box with a bunch of components in it. It was then up to me to get them assembled and get it working!
COMPONENTS THEY PROVIDE
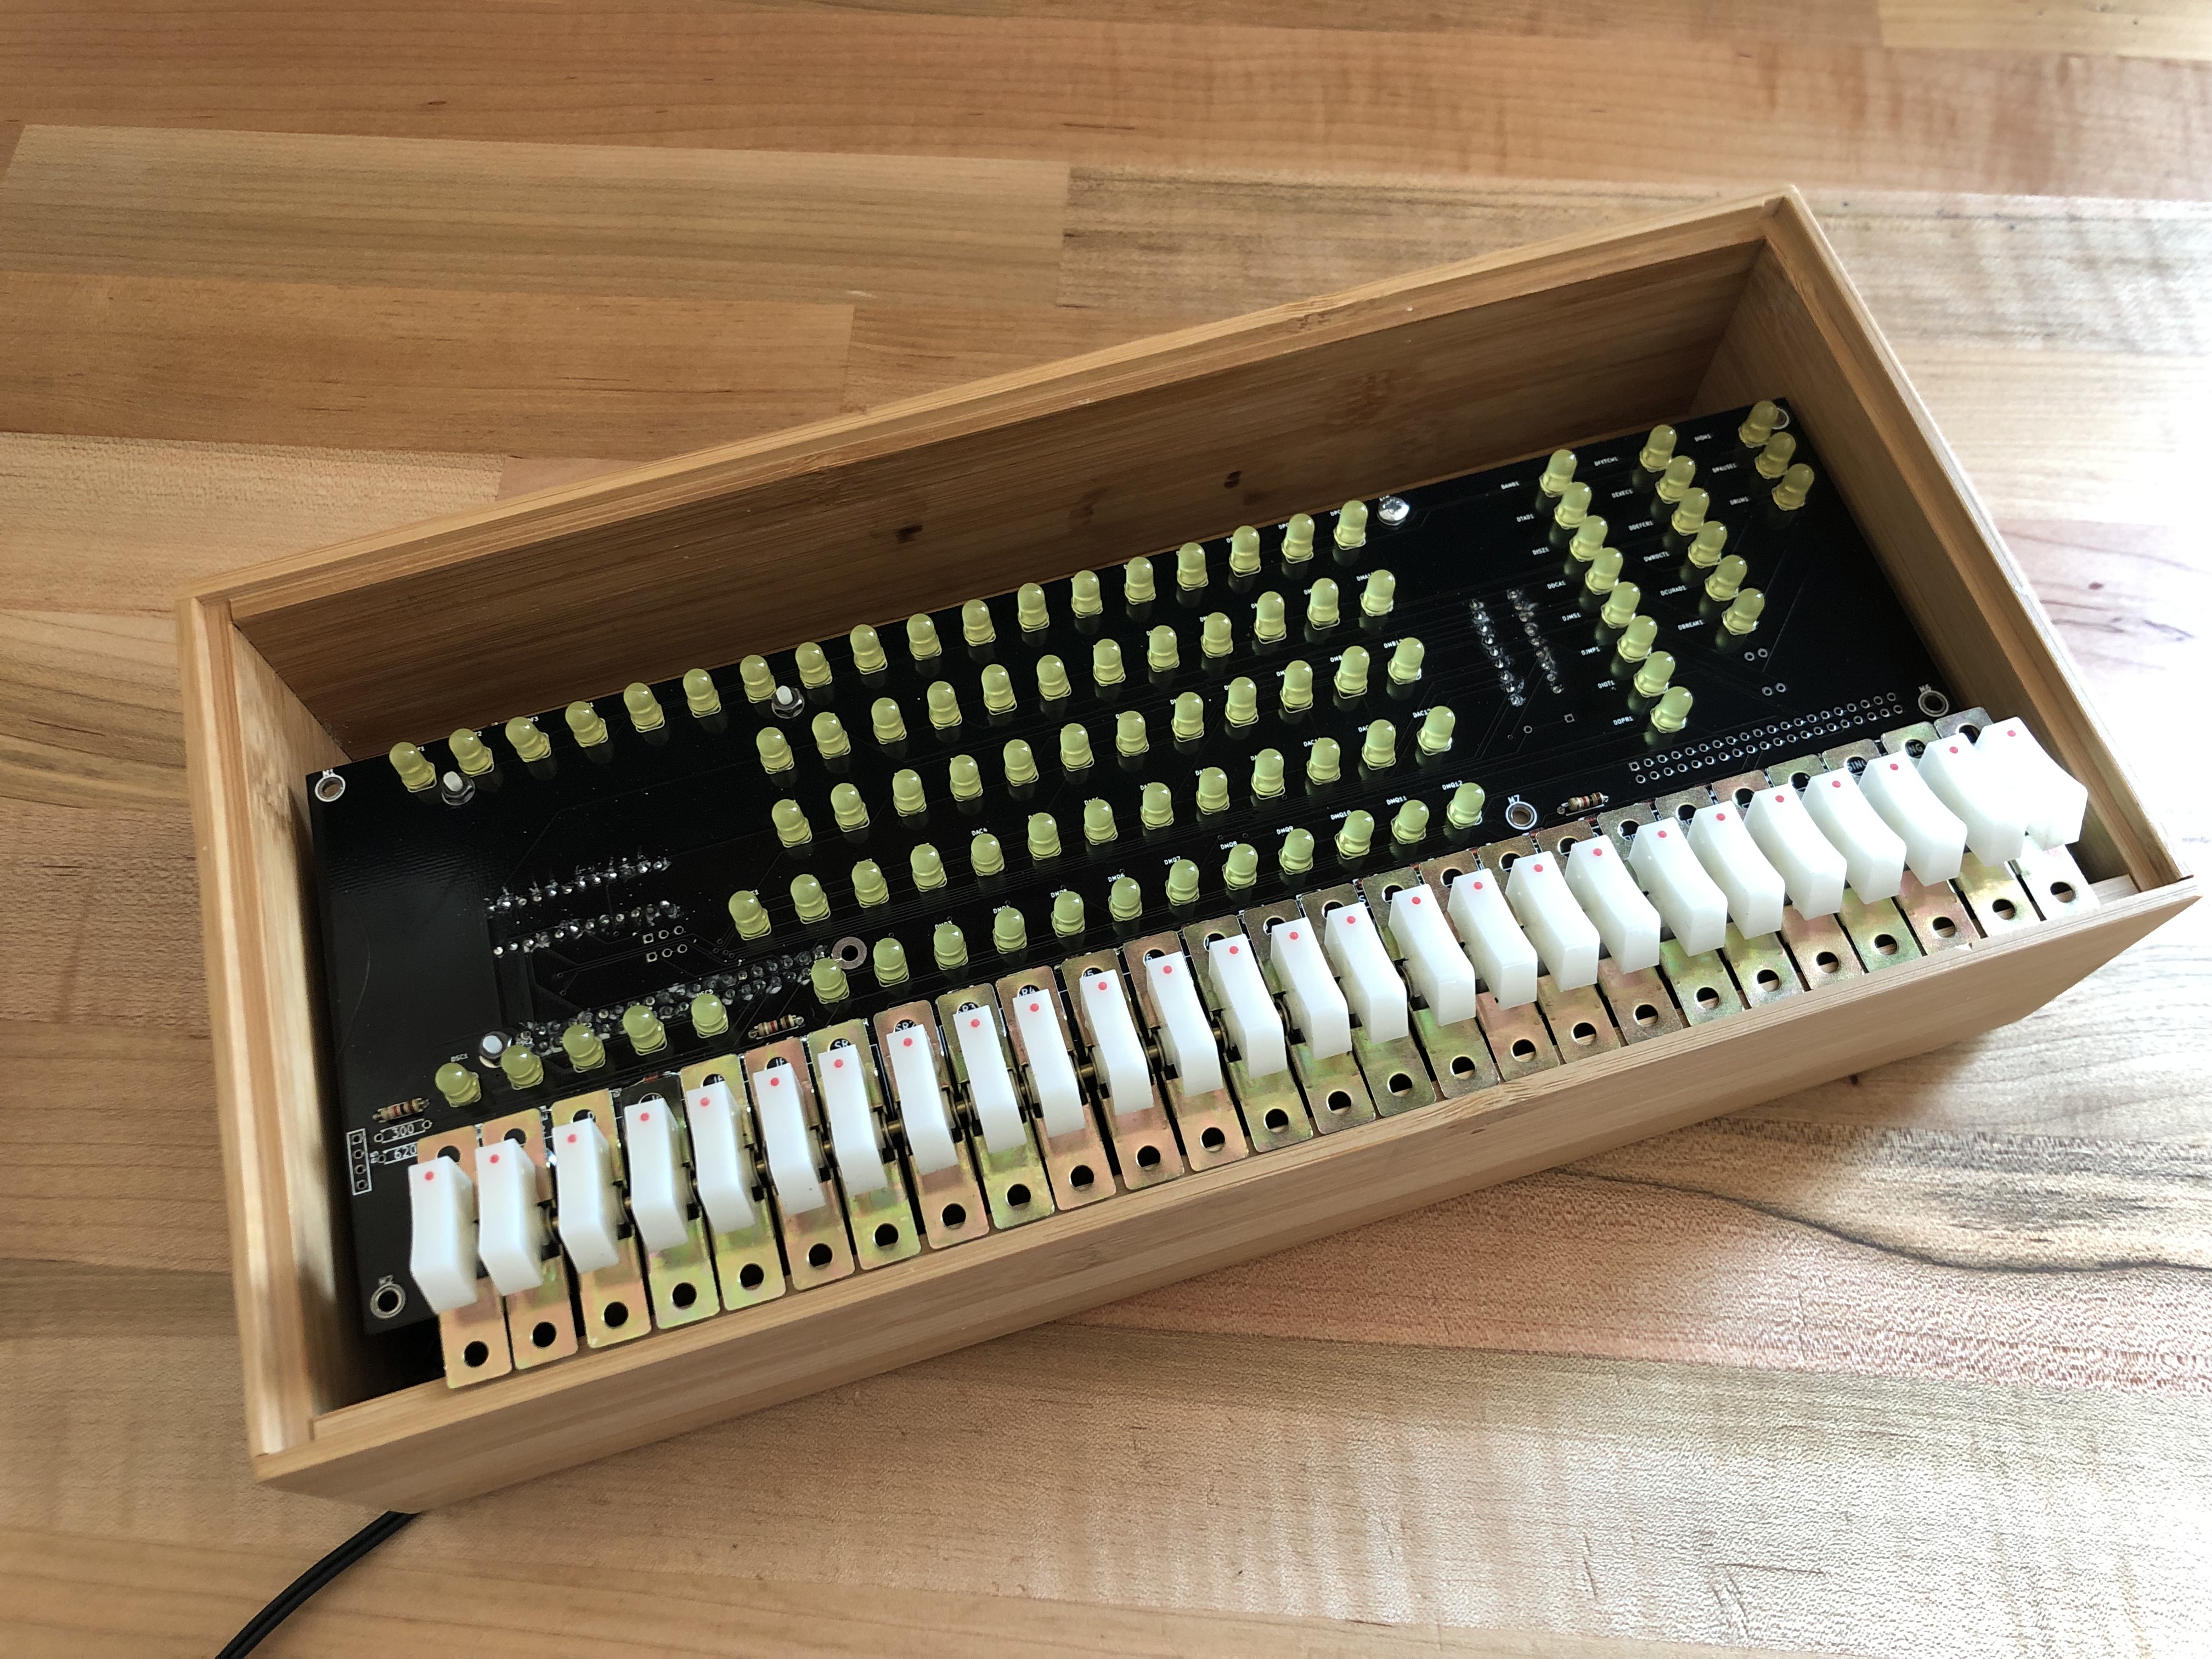
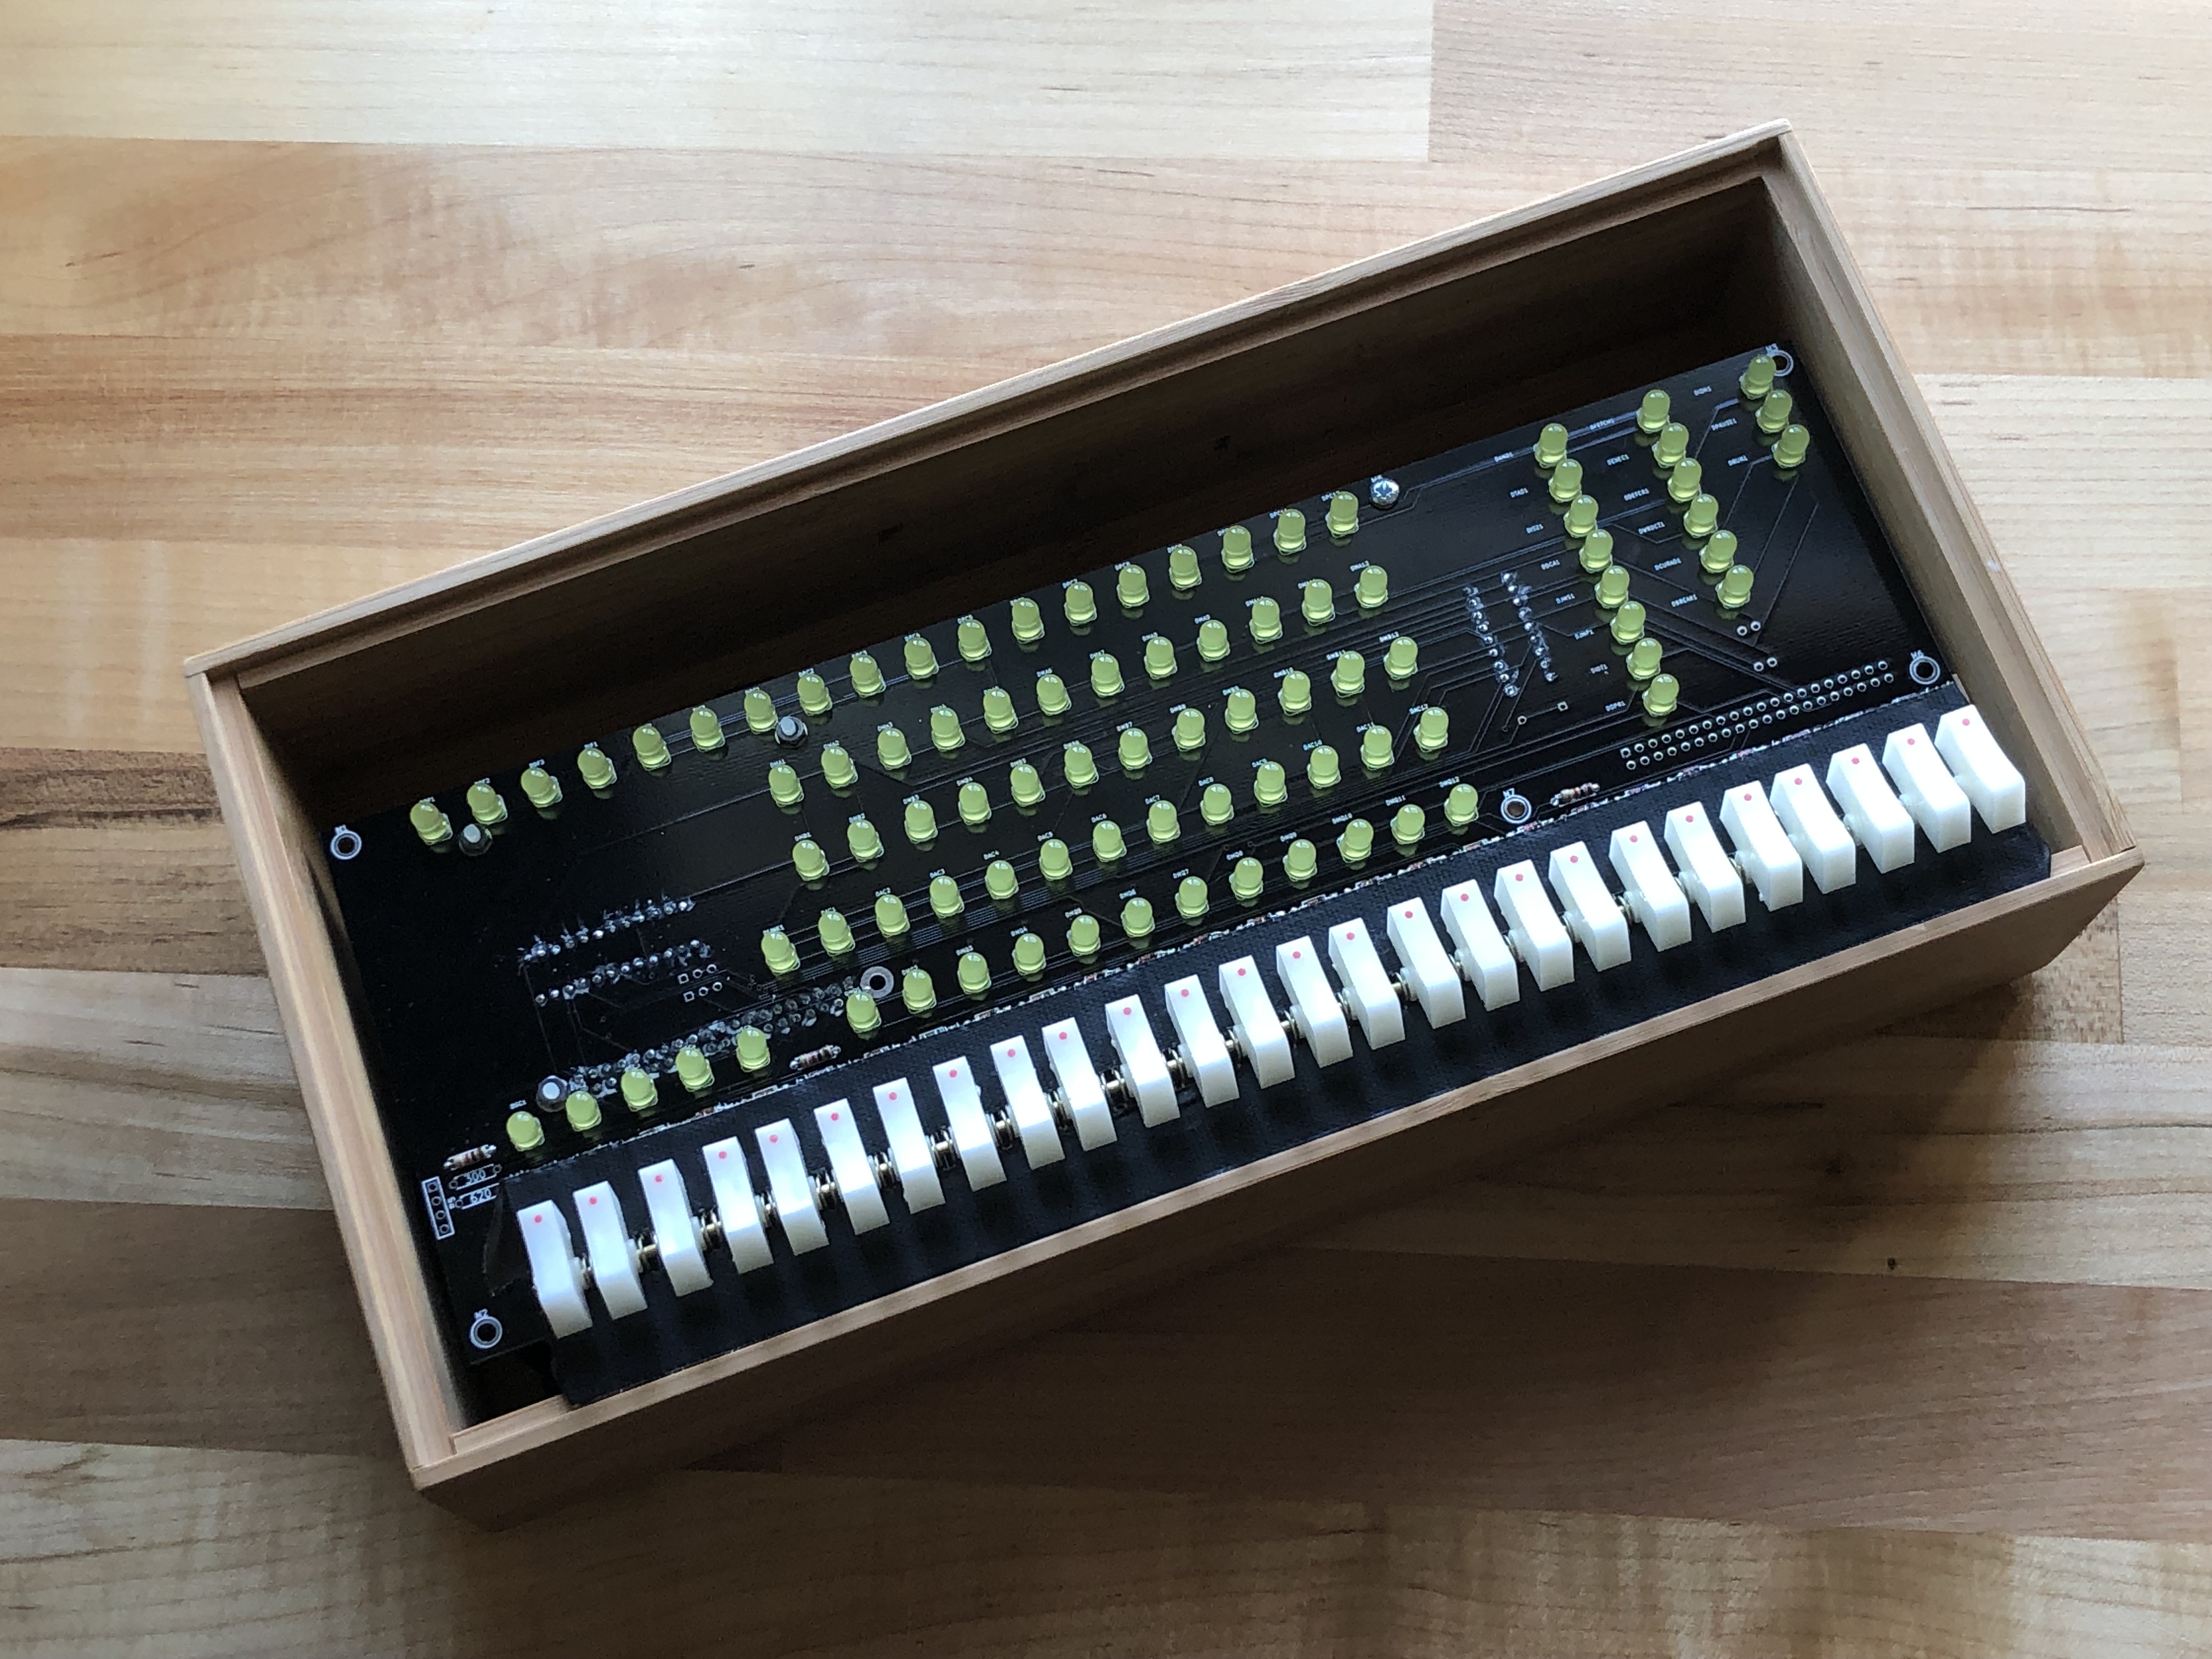
1x Wood enclosure
26× Toggle switches
12× 390 Ohm resistors
27× 4148 Diodes
1× UDN2981A
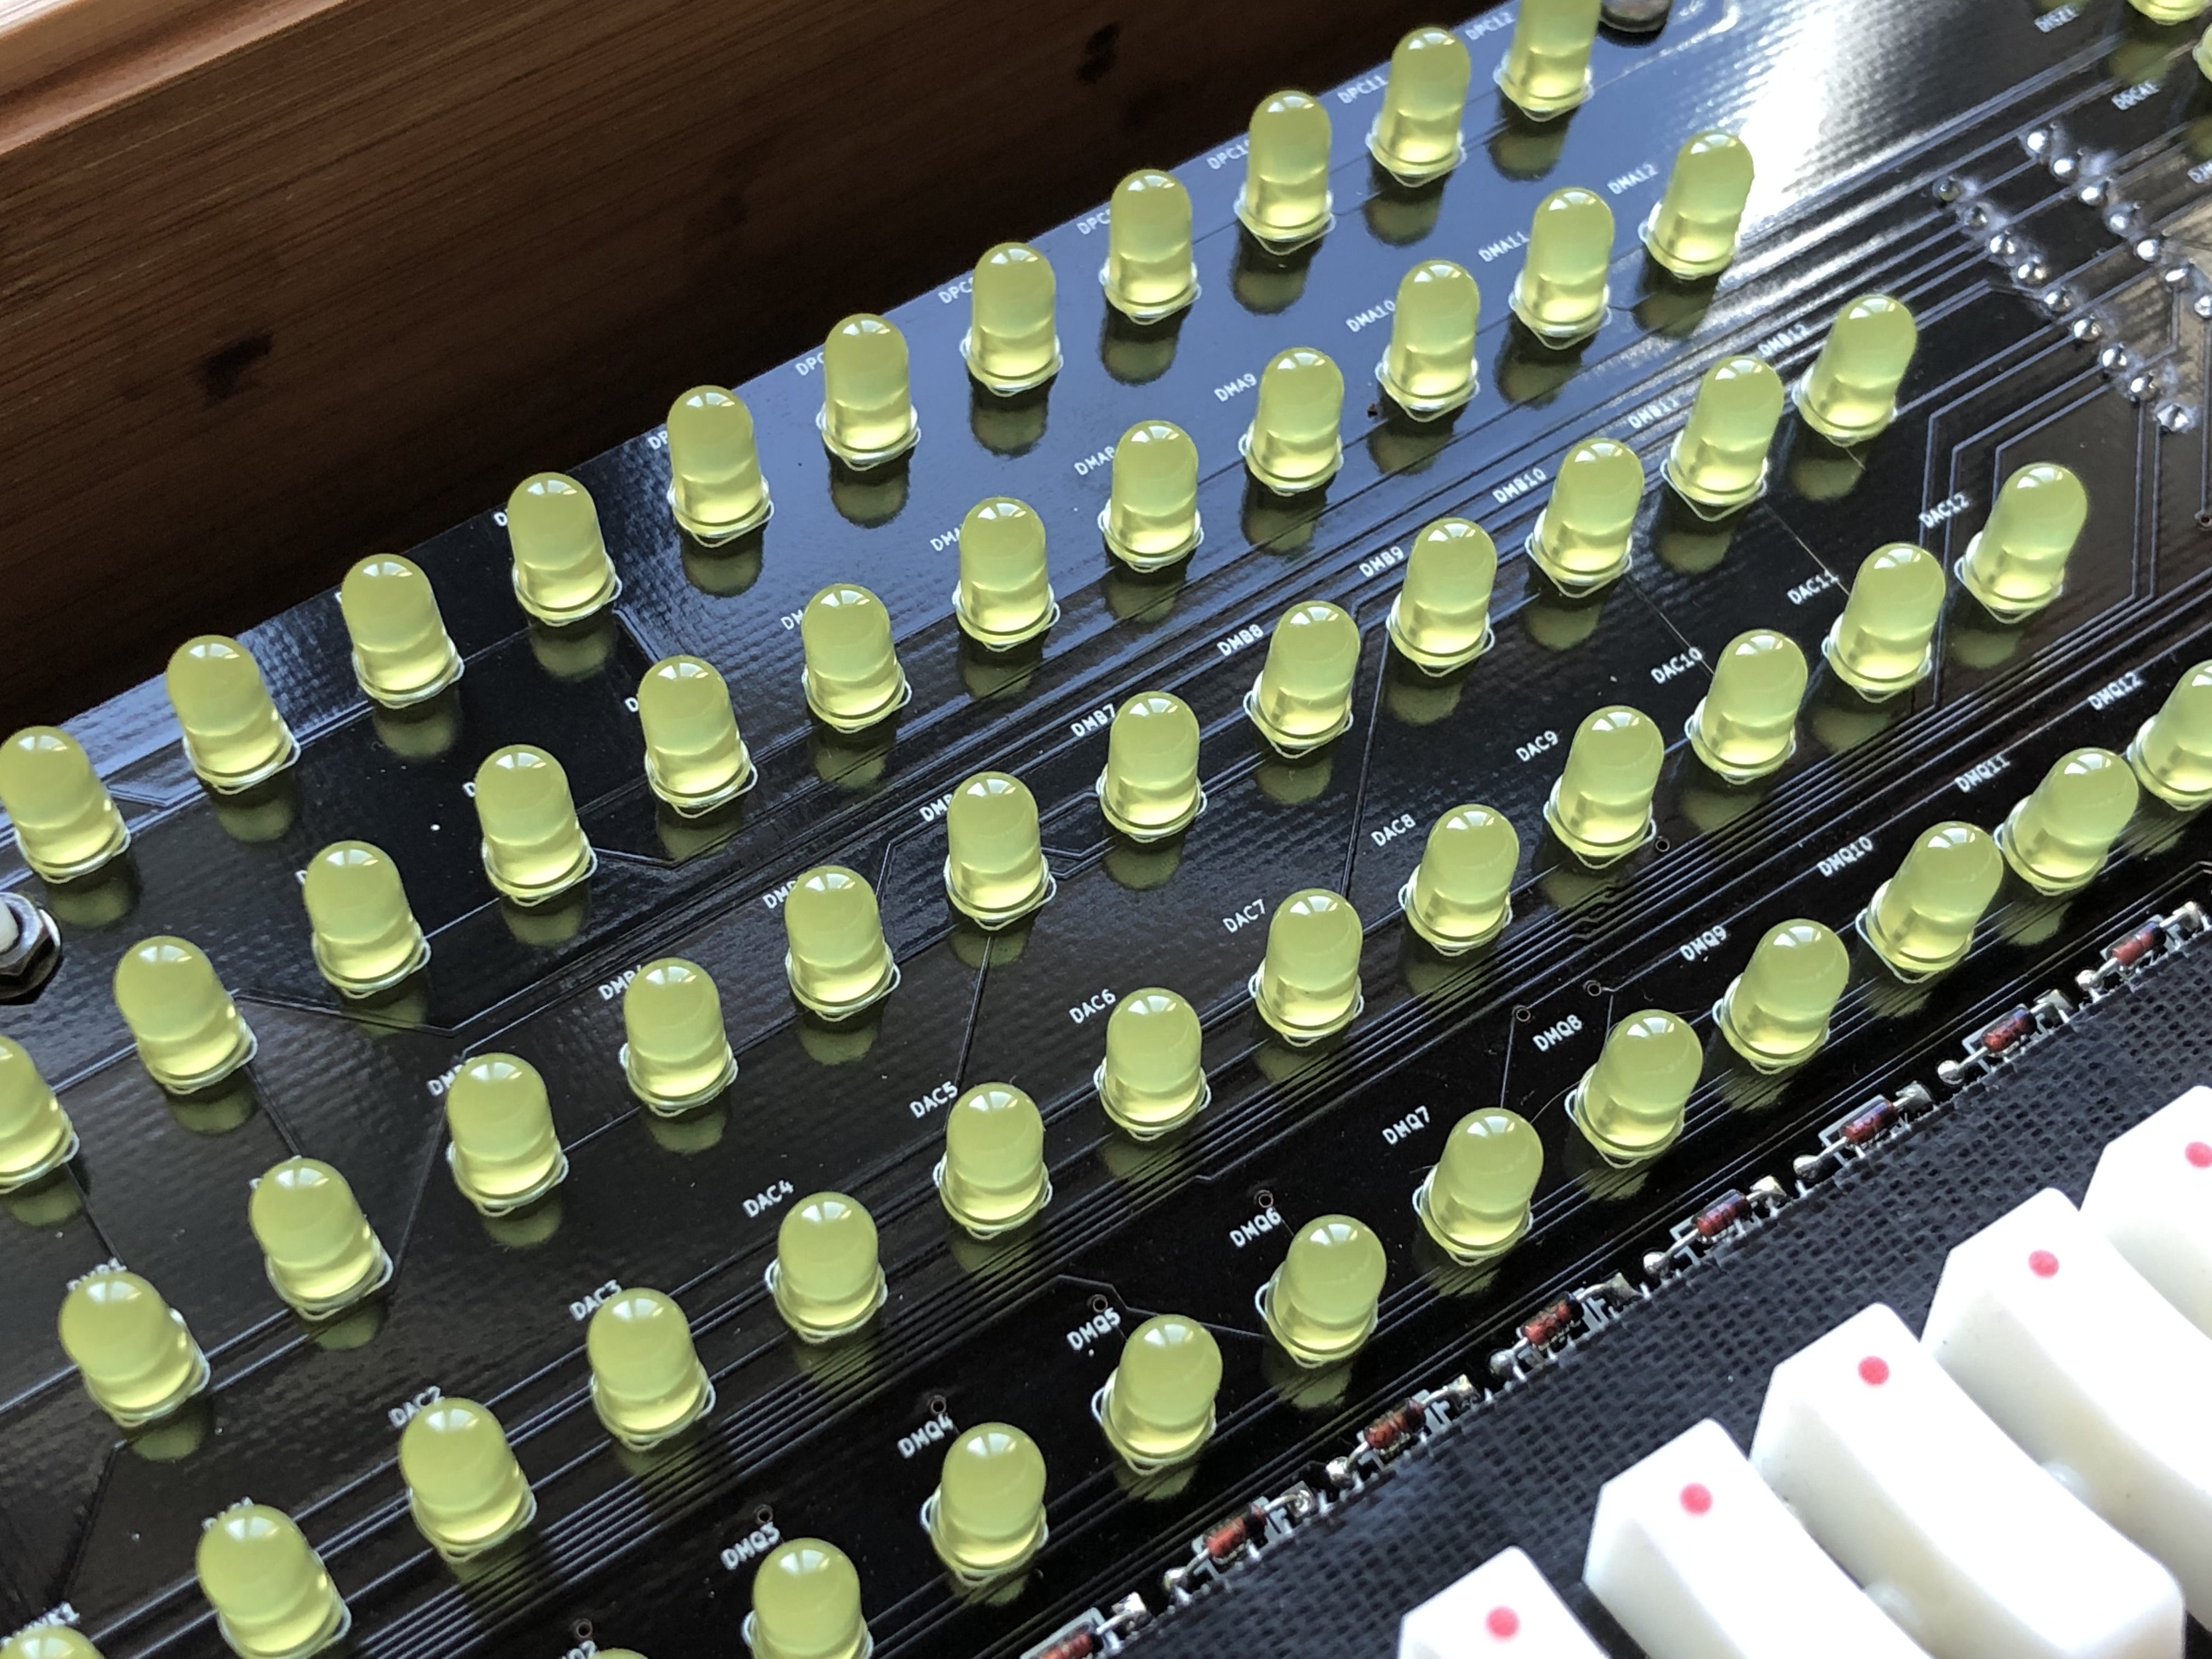
89× LEDs (5mm, High Brightness)
3× 1K Ohm Resistors
1× 2*20 pin header for mounting the Raspberry Pi
COMPONENTS YOU PROVIDE
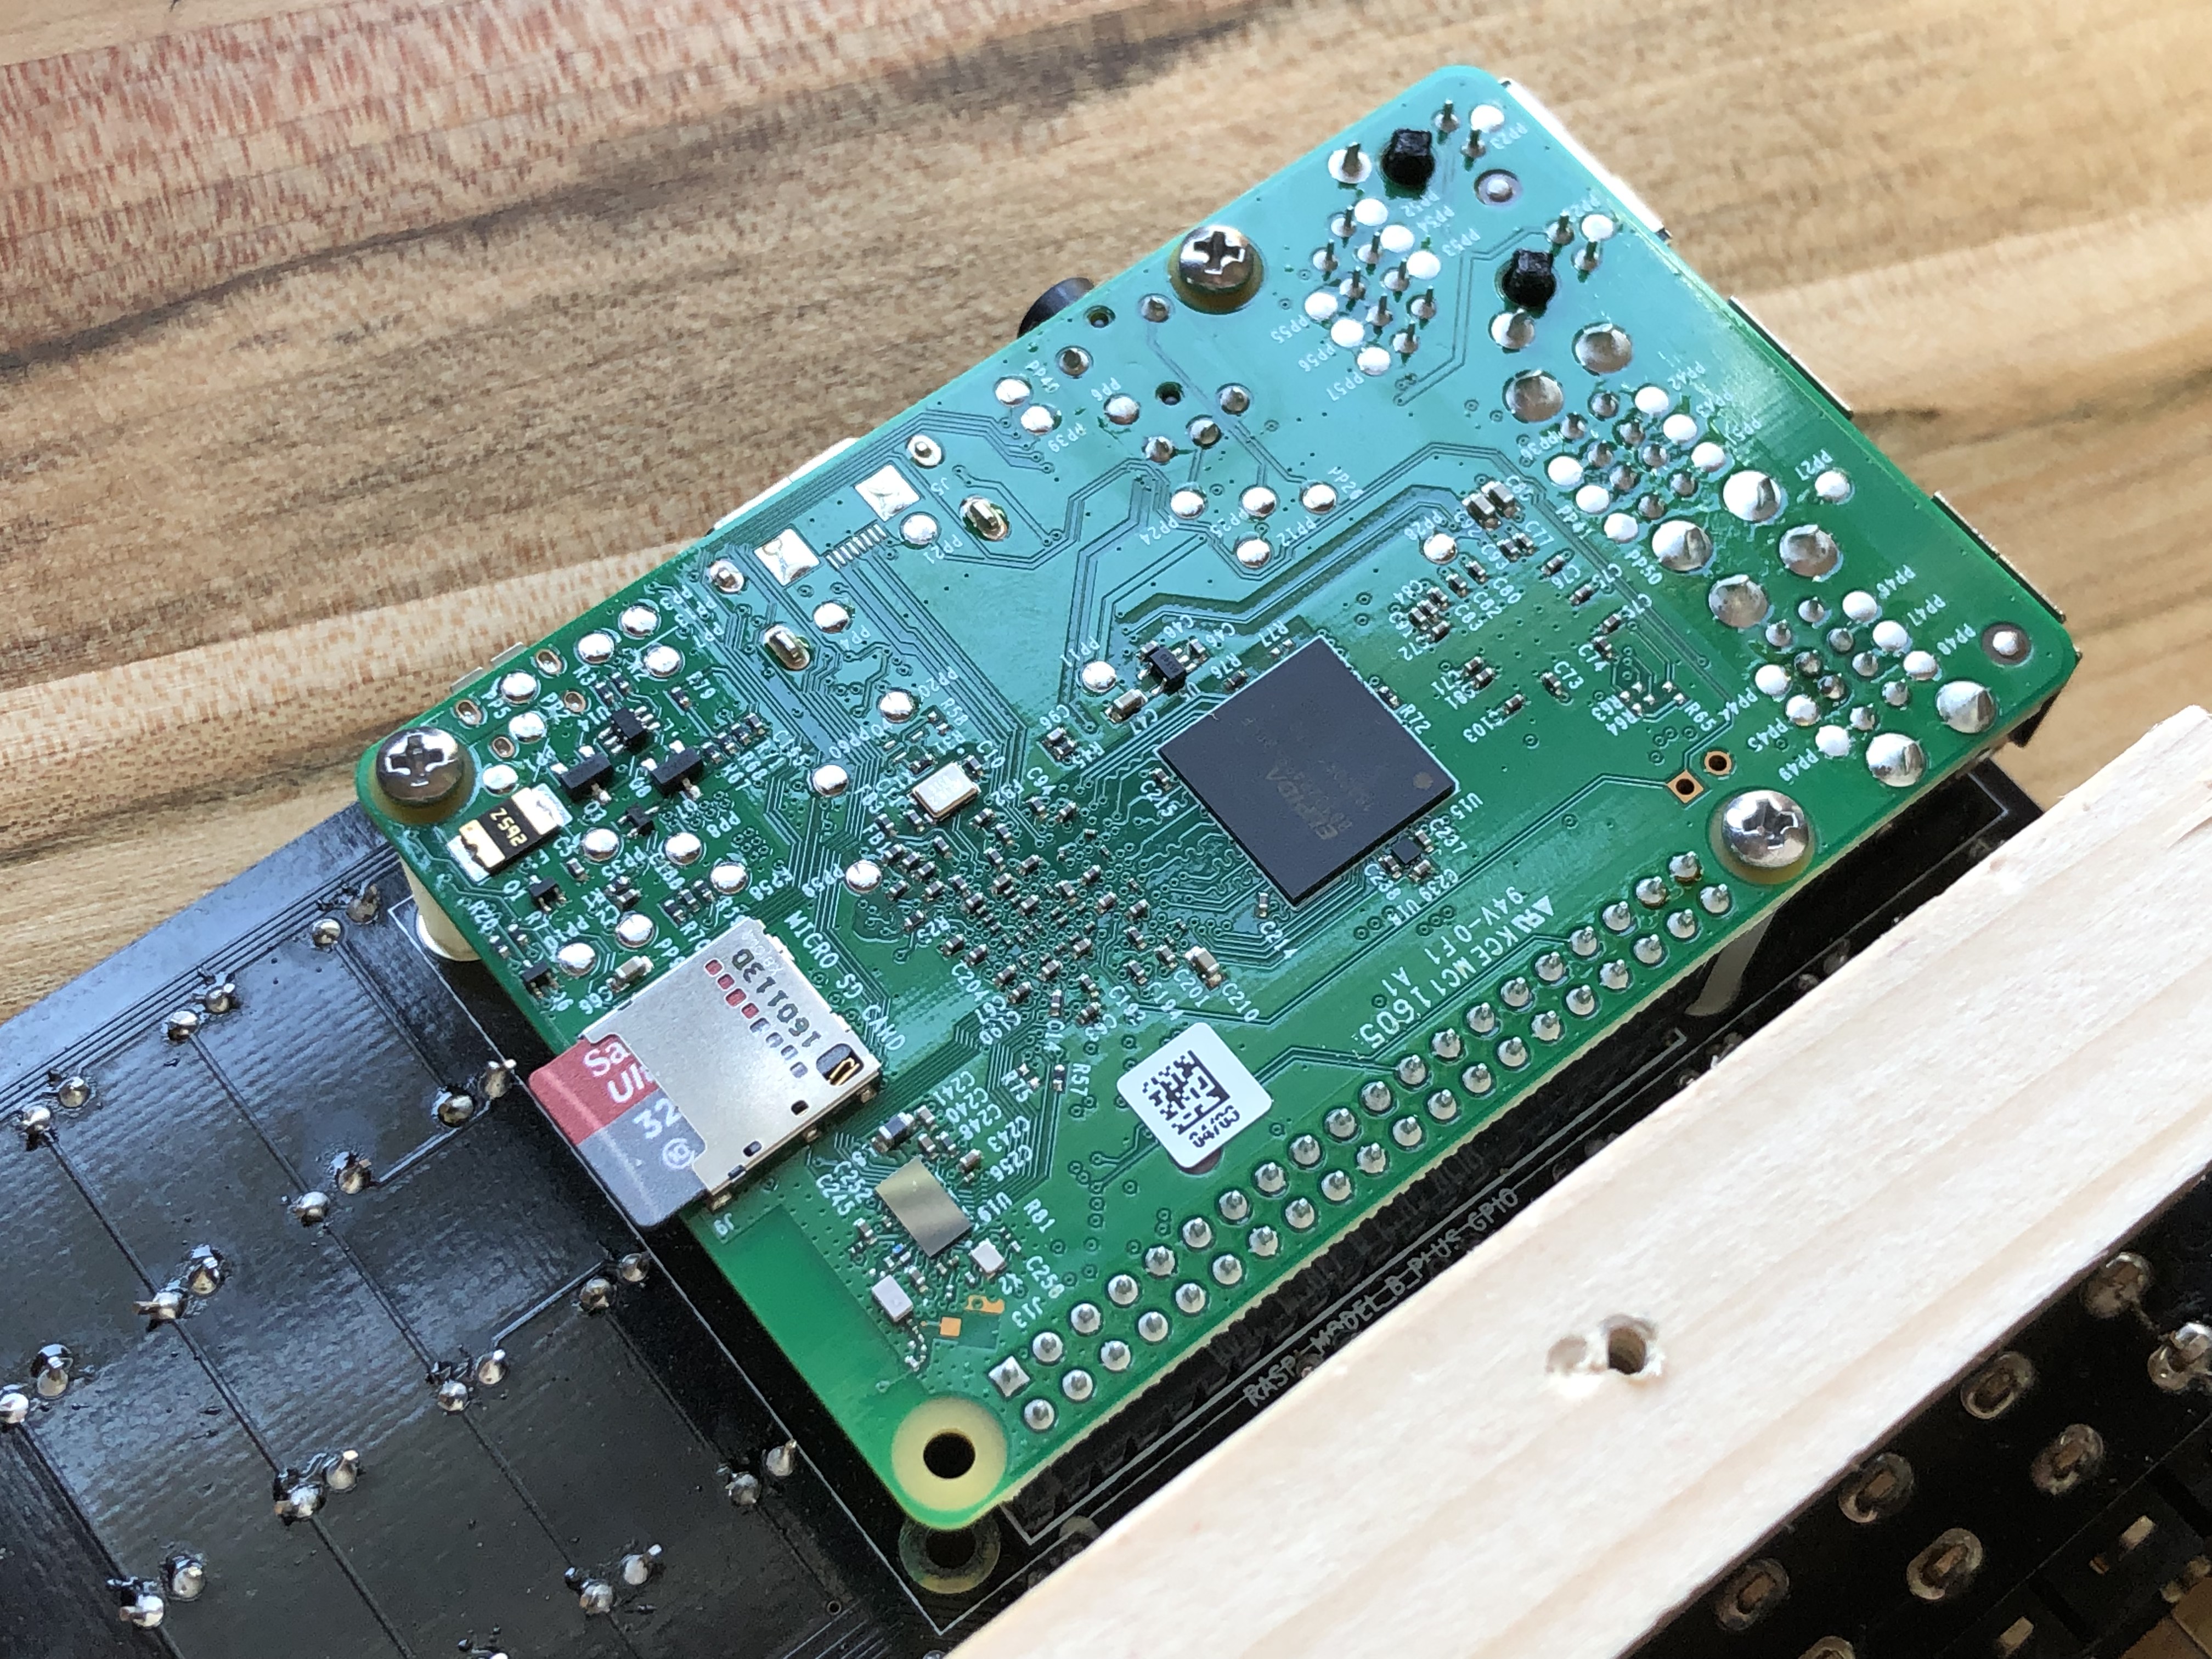
1× Raspberry Pi (Plus to 3B or Zero/Zero W) needs 40 pin GPIO connector (I used a 3B+)
I began the build in 2016 and for any number of reasons the project sat dormant until 2018. I finally picked it back up in September of 2018, so I could finish it and get it running!
Back in 2016 I completed the following
- Setting up the switches
- Soldering the Raspberry Pi header
- Soldering ~1/3 of the LEDs
Completed remaining tasks in 2018
- Finish soldering all components to PCB
- Attach Raspberry Pi
- Configure software on Raspberry Pi
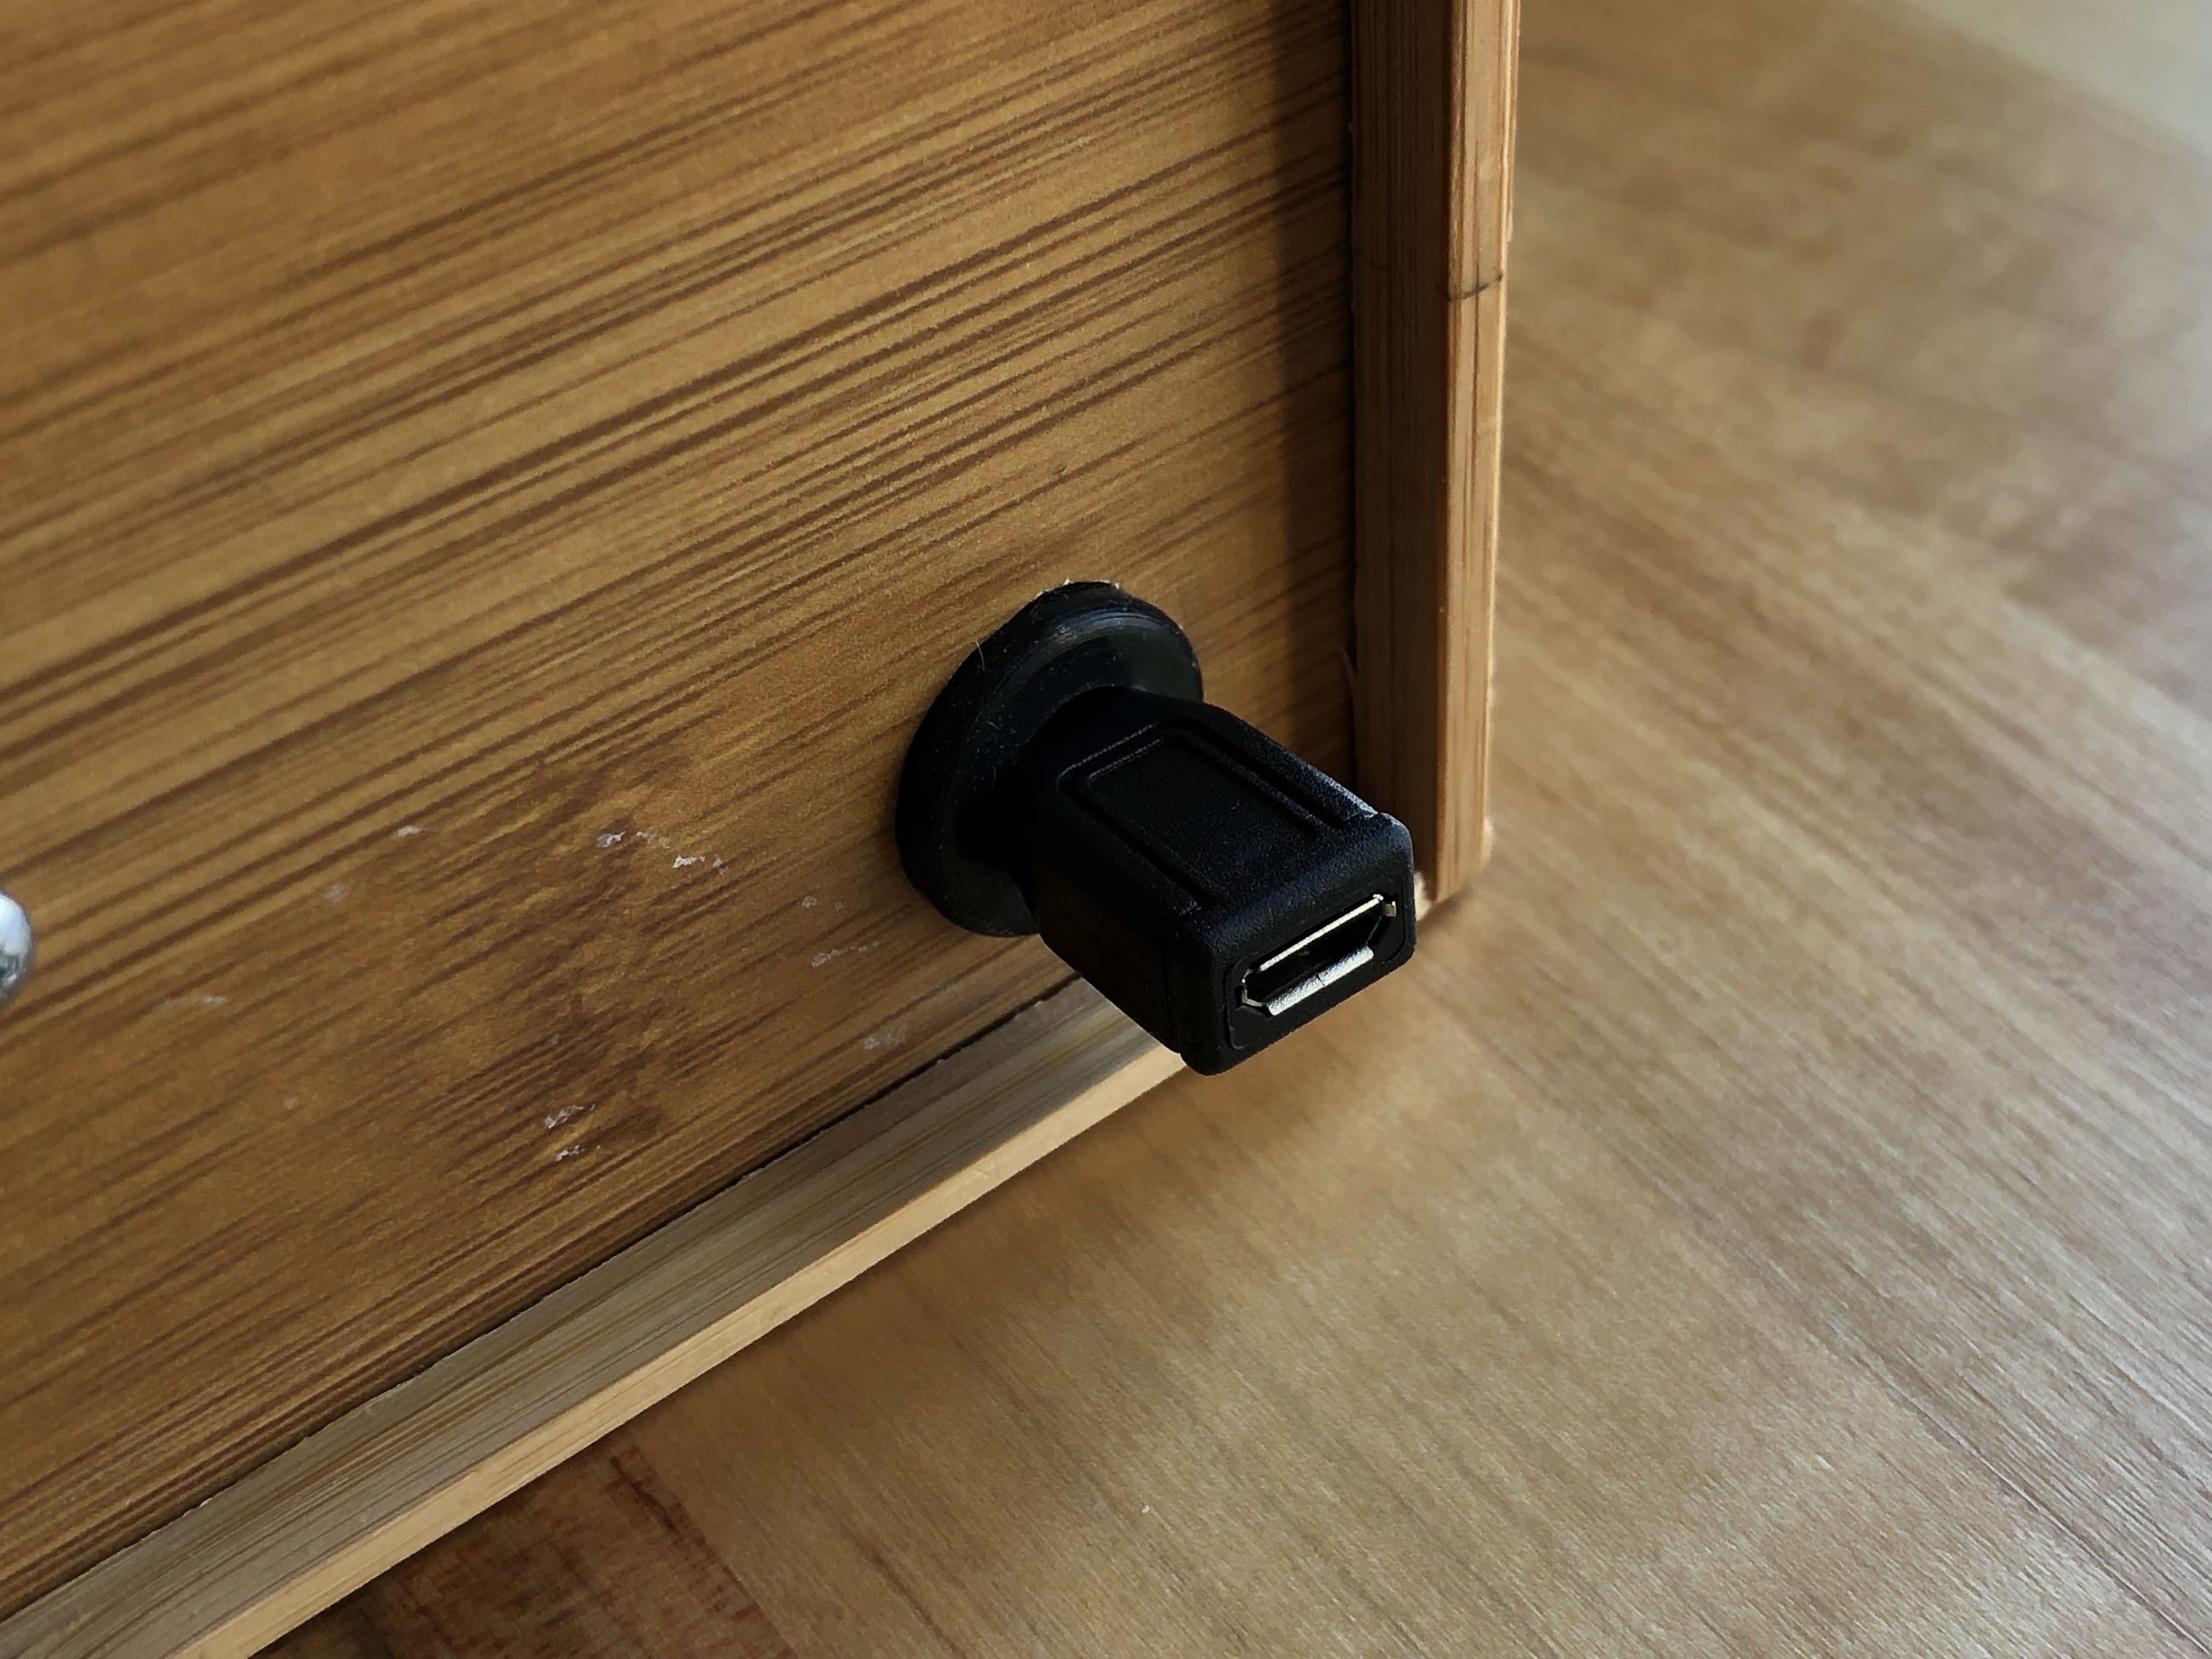
- Configure remote access so I can access the Raspberry Pi without disassembling the unit.
- Assemble components into the enclosure
- Turn it on and hope it works! 🤞
On October 8th it was finally ready to boot up and see if it all worked...
...and it did! 😃 🎉
This project was a lot of fun to put together, and in some way, I am glad I didn’t finish it back in 2015.
Here are some photos as the building and testing progressed.